Manage Performance Proxy Metrics Jobs
The Performance Proxy Metrics (PPM) service records web vitals on a certain schedule, such as every 30 minutes. You can view the metrics and jobs and manage PPM jobs in the Performance Proxy dashboard.
View Web Vital Metrics
Perform the following steps to view the most recent web vital metrics returned by PPM jobs:
- Log in to your PhotonIQ Performance Proxy dashboard.
- Click PPM.
- (Optional) Select a time range by adjusting the values in the From and To fields.

The Web Vitals: 75th Percentile Analysis table displays the following fields:
- URL - The URL of the site that has been analyzed.
- Device - The device for which the site was analyzed, either desktop or mobile.
- Score - A composite score that reflects the overall performance of the page, calculated based on various performance metrics. Higher scores indicate better performance.
- CLS (Cumulative Layout Shift) - Measures the sum of all individual layout shift scores for every unexpected layout shift that occurs during the entire lifespan of the page. It quantifies how often users experience unexpected content shifts.
- FCP (First Contentful Paint) - The time from when the page starts loading to when any part of the page's content is rendered on the screen. It marks the point when users first see a visual response from the page.
- FMP (First Meaningful Paint) - Measures the time it takes for the primary content of a page to become visible. It aims to capture the first moment the page's main content is loaded and likely to catch the user's attention.
- TTI (Time to Interactive) - The amount of time it takes for the page to become fully interactive. It measures the time from when the page starts loading to when it has consistently responded to user inputs in a timely manner.
- LCP (Largest Contentful Paint) - Records the time at which the largest text or image is painted, marking the point in the page load timeline where the page's main content has likely loaded.
- SP (Speed Index) - Measures how quickly the contents of a page are visibly populated. It's an index showing how quickly the contents of a page are visibly displayed during the page load.
- TBT (Total Blocking Time) - Quantifies the total amount of time that a page is blocked from responding to user input, such as mouse clicks, screen taps, or keyboard presses. It measures the severity of how non-interactive a page is before it becomes reliably interactive.
View Web Vitals Jobs
Perform the following steps to view existing PPM jobs:
- Log in to your PhotonIQ Performance Proxy dashboard.
- Click PPM.
- Click Show Jobs.
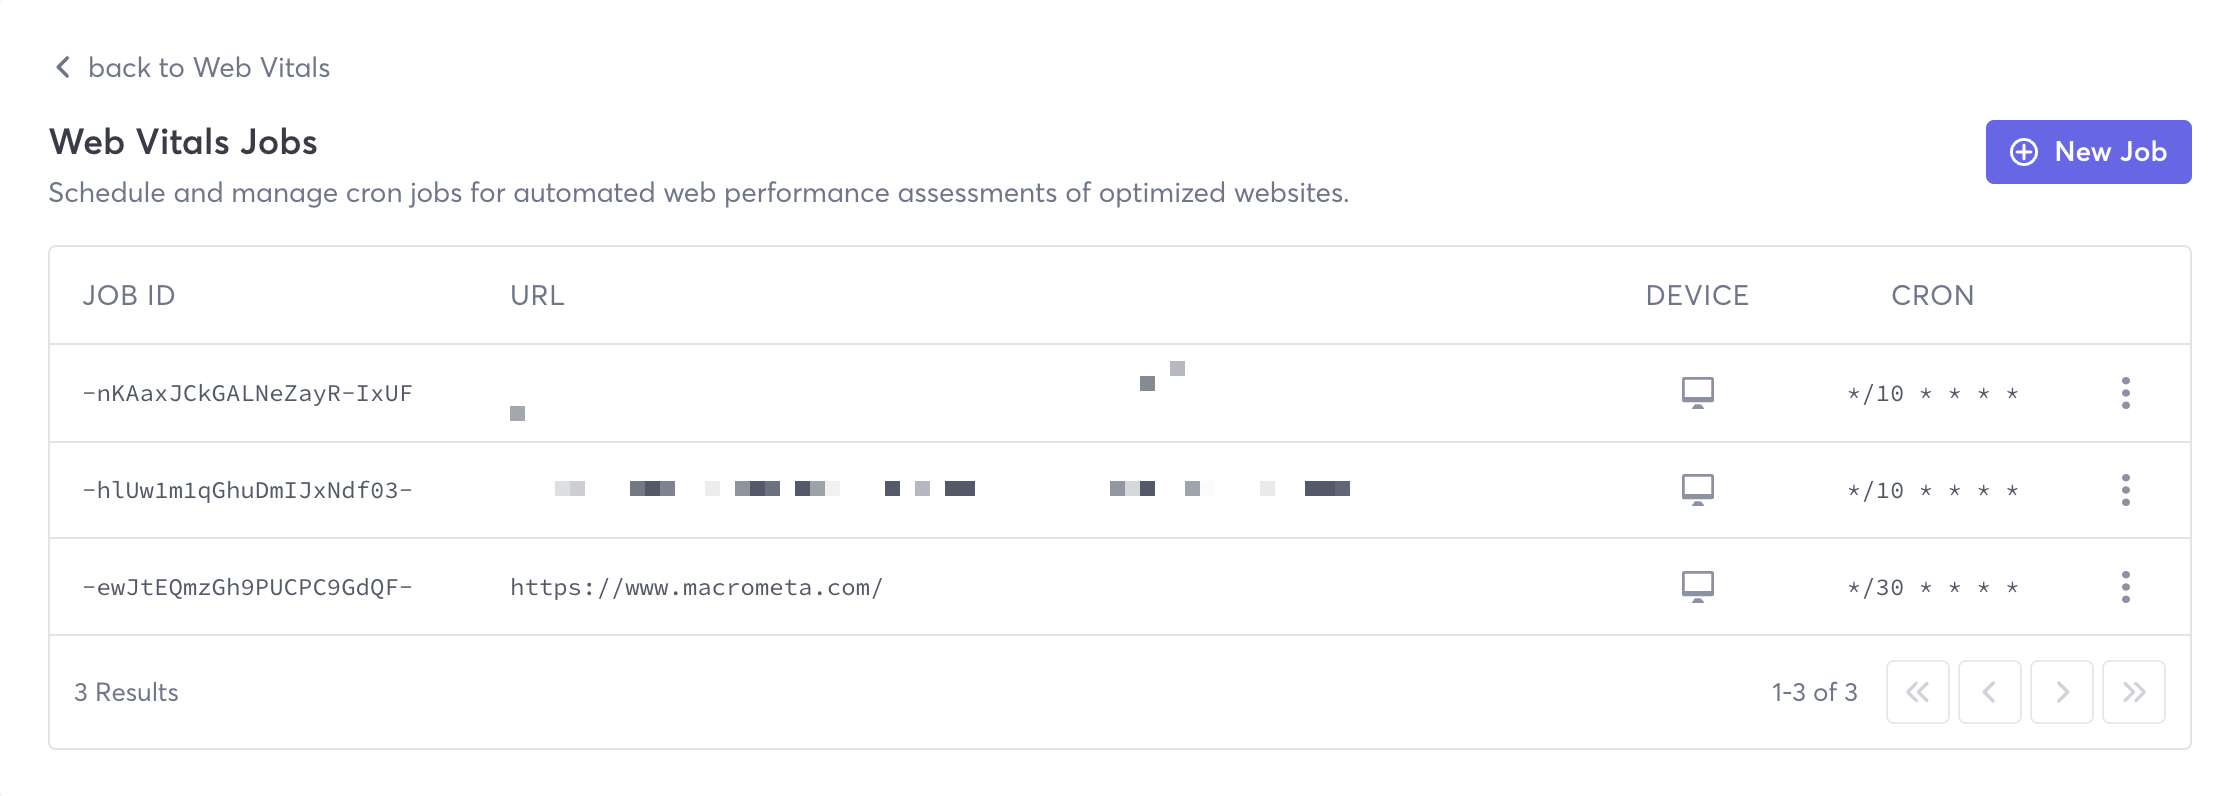
The Web Vitals Jobs table displays the following fields:
- Job ID - The randomly-generated job ID.
- URL - The URL that the job analyzes.
- Device - Whether the analysis is based on desktop or mobile devices.
- Cron - The formula that defines how often the job runs.

Create a PPM Job
Perform the following steps to create a new PPM job:
Log in to your PhotonIQ Performance Proxy dashboard.
Click PPM.
Click Show Jobs.
Click New Job.
In the URL field, enter the URL you want PPM to analyze.
In the Cron Expression field, you can accept the default cron expression to set the job to run every 30 minutes, or you can customize the expression.
Select the Device Type that you want PPM to analyze the site for: Desktop or Mobile.
(Optional) Enter values in the Advanced Settings:
- Viewport - Define the height and resolution width for which you want the PPM job to run. The default is 1024*1366.
- Width - Viewport width.
- Height - Viewport height.
- Headers - If you want PPM to pass headers when it accesses the page, add them here. Click Add to add additional headers.
- Viewport - Define the height and resolution width for which you want the PPM job to run. The default is 1024*1366.
Click Submit.
The job appears in the Web Vitals Jobs table, results appear in the Web Vitals table after the job runs for the first time.
Delete PPM Jobs
Perform the following steps to delete an existing PPM job:
- Log in to your PhotonIQ Performance Proxy dashboard.
- Click PPM.
- Click Show Jobs.
- Click the three stacked dots next to the job that you want to delete, and then click Delete.