Access with the Native Client
Accessing the VDI via the native client is available for Windows and Mac users and follows the steps offered in this guide.
Prerequisites
Before getting started, ensure to do the following:
- Download the VDI Client: (For Windows and Mac users) This client installs the necessary tools needed to set up your Virtual Desktop Infrastructure.
- Download the Windows app - For Mac users
- Access on Windows
- Access on Mac
Step 1: Download and install the VDI Client
Go to the Software Downloads page and click Download VDI Client to download the VDI installer.

Run the downloaded file and follow the installation prompts.
Once the installation is complete, click Finish.
After a successful installation, you'll see the Macrometa VDI Service icon in the system tray.
Step 2: Connect to the VDI
To begin using the remote Windows desktop via the native client:
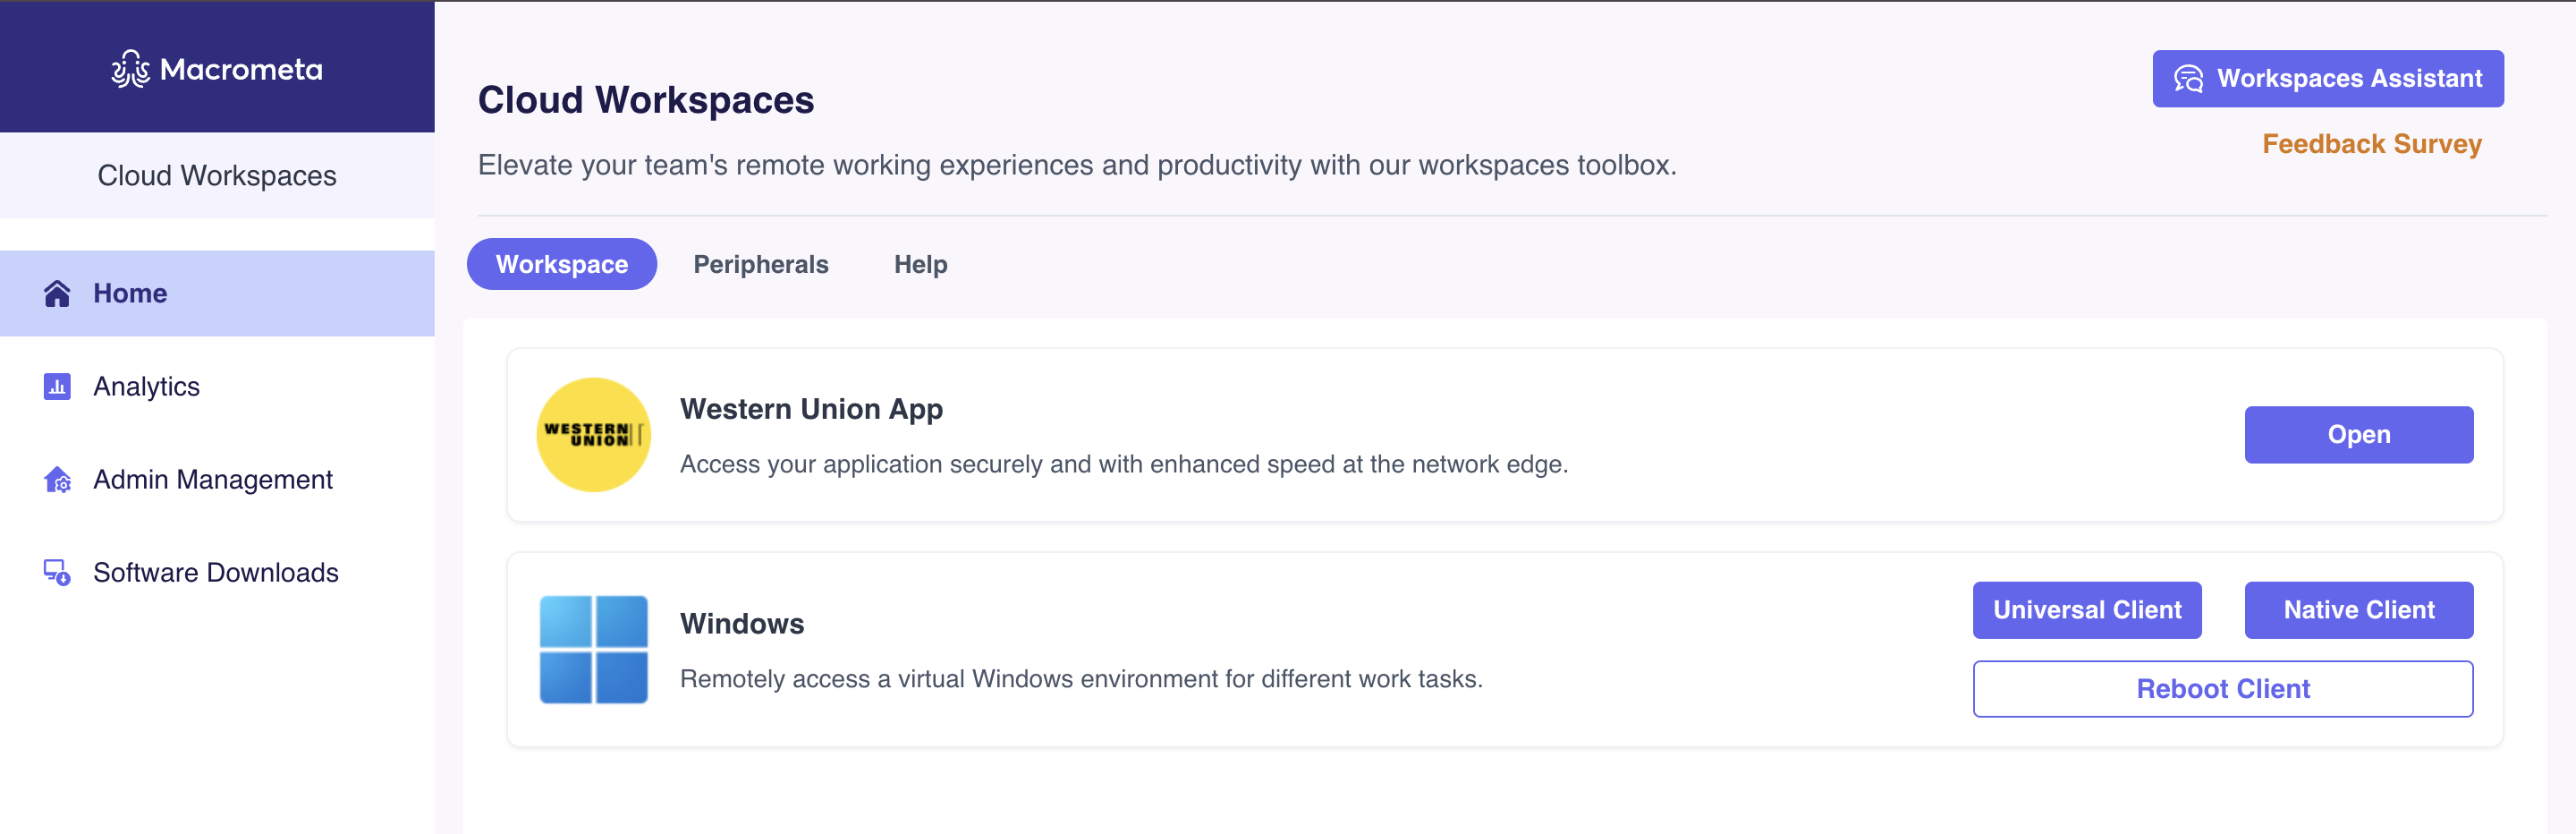
Open the Workspaces homepage and click the Native Client button for Windows.
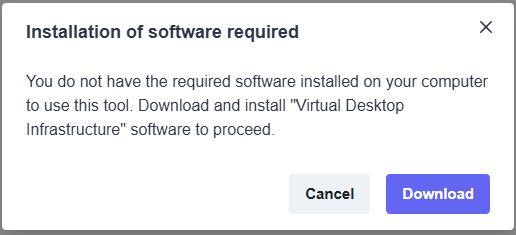
If the installer is not already downloaded, it will prompt you to download and install the VDI client.
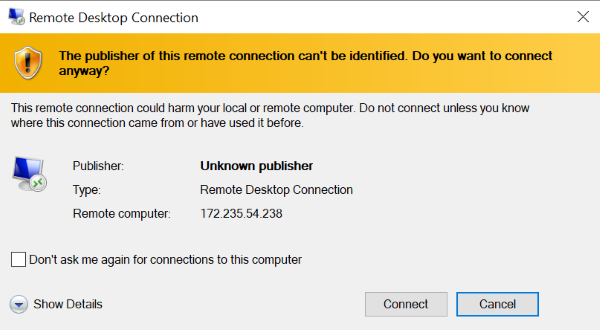
A Remote Desktop Connection pop-up will appear. Click Connect to initiate the connection.
 note
noteTo make additional configurations to the connection, go to Configure your connection in the RDP client before you click Connect.
Enter your VDI password when prompted for login credentials and click OK to connect. If needed, click More choices to specify a different username and password.

If you get any warning to proceed despite any certificate errors, Click Yes.
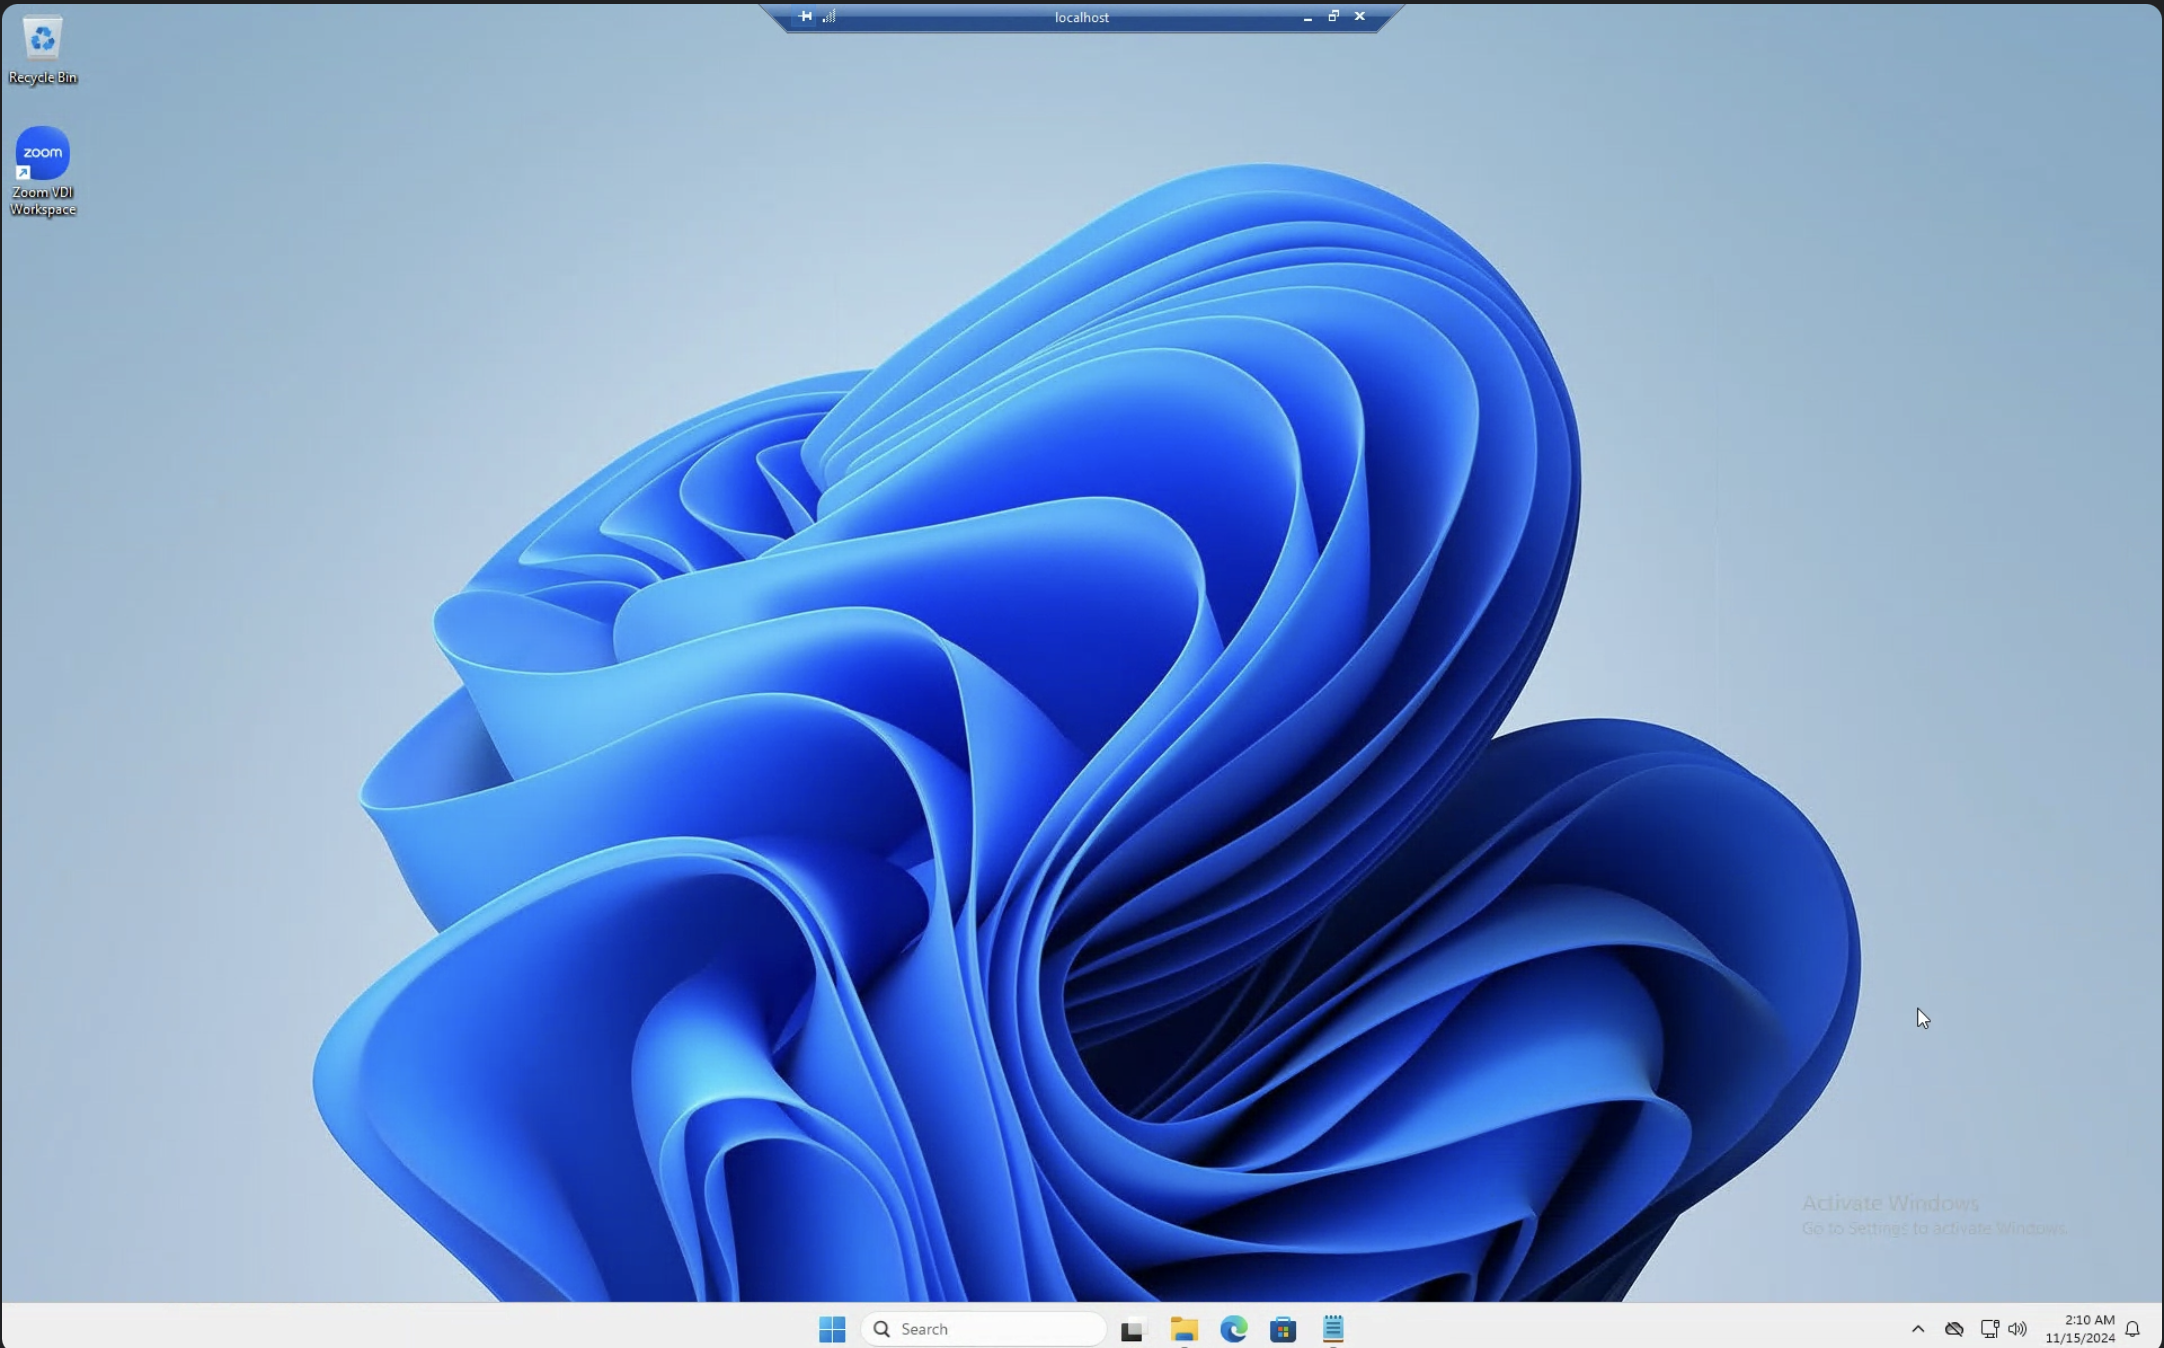
Upon successful authentication, the remote Windows desktop launches in your RDP client.
Step 3 (Optional): Configure your connection in the RDP client
To make additional configurations to your connection in the RDP client, follow these steps before clicking Connect on the VDI connection pop-up:
Navigate to the RDP client and update your desired configurations. Go to Local Resources > Local Devices and Resources.
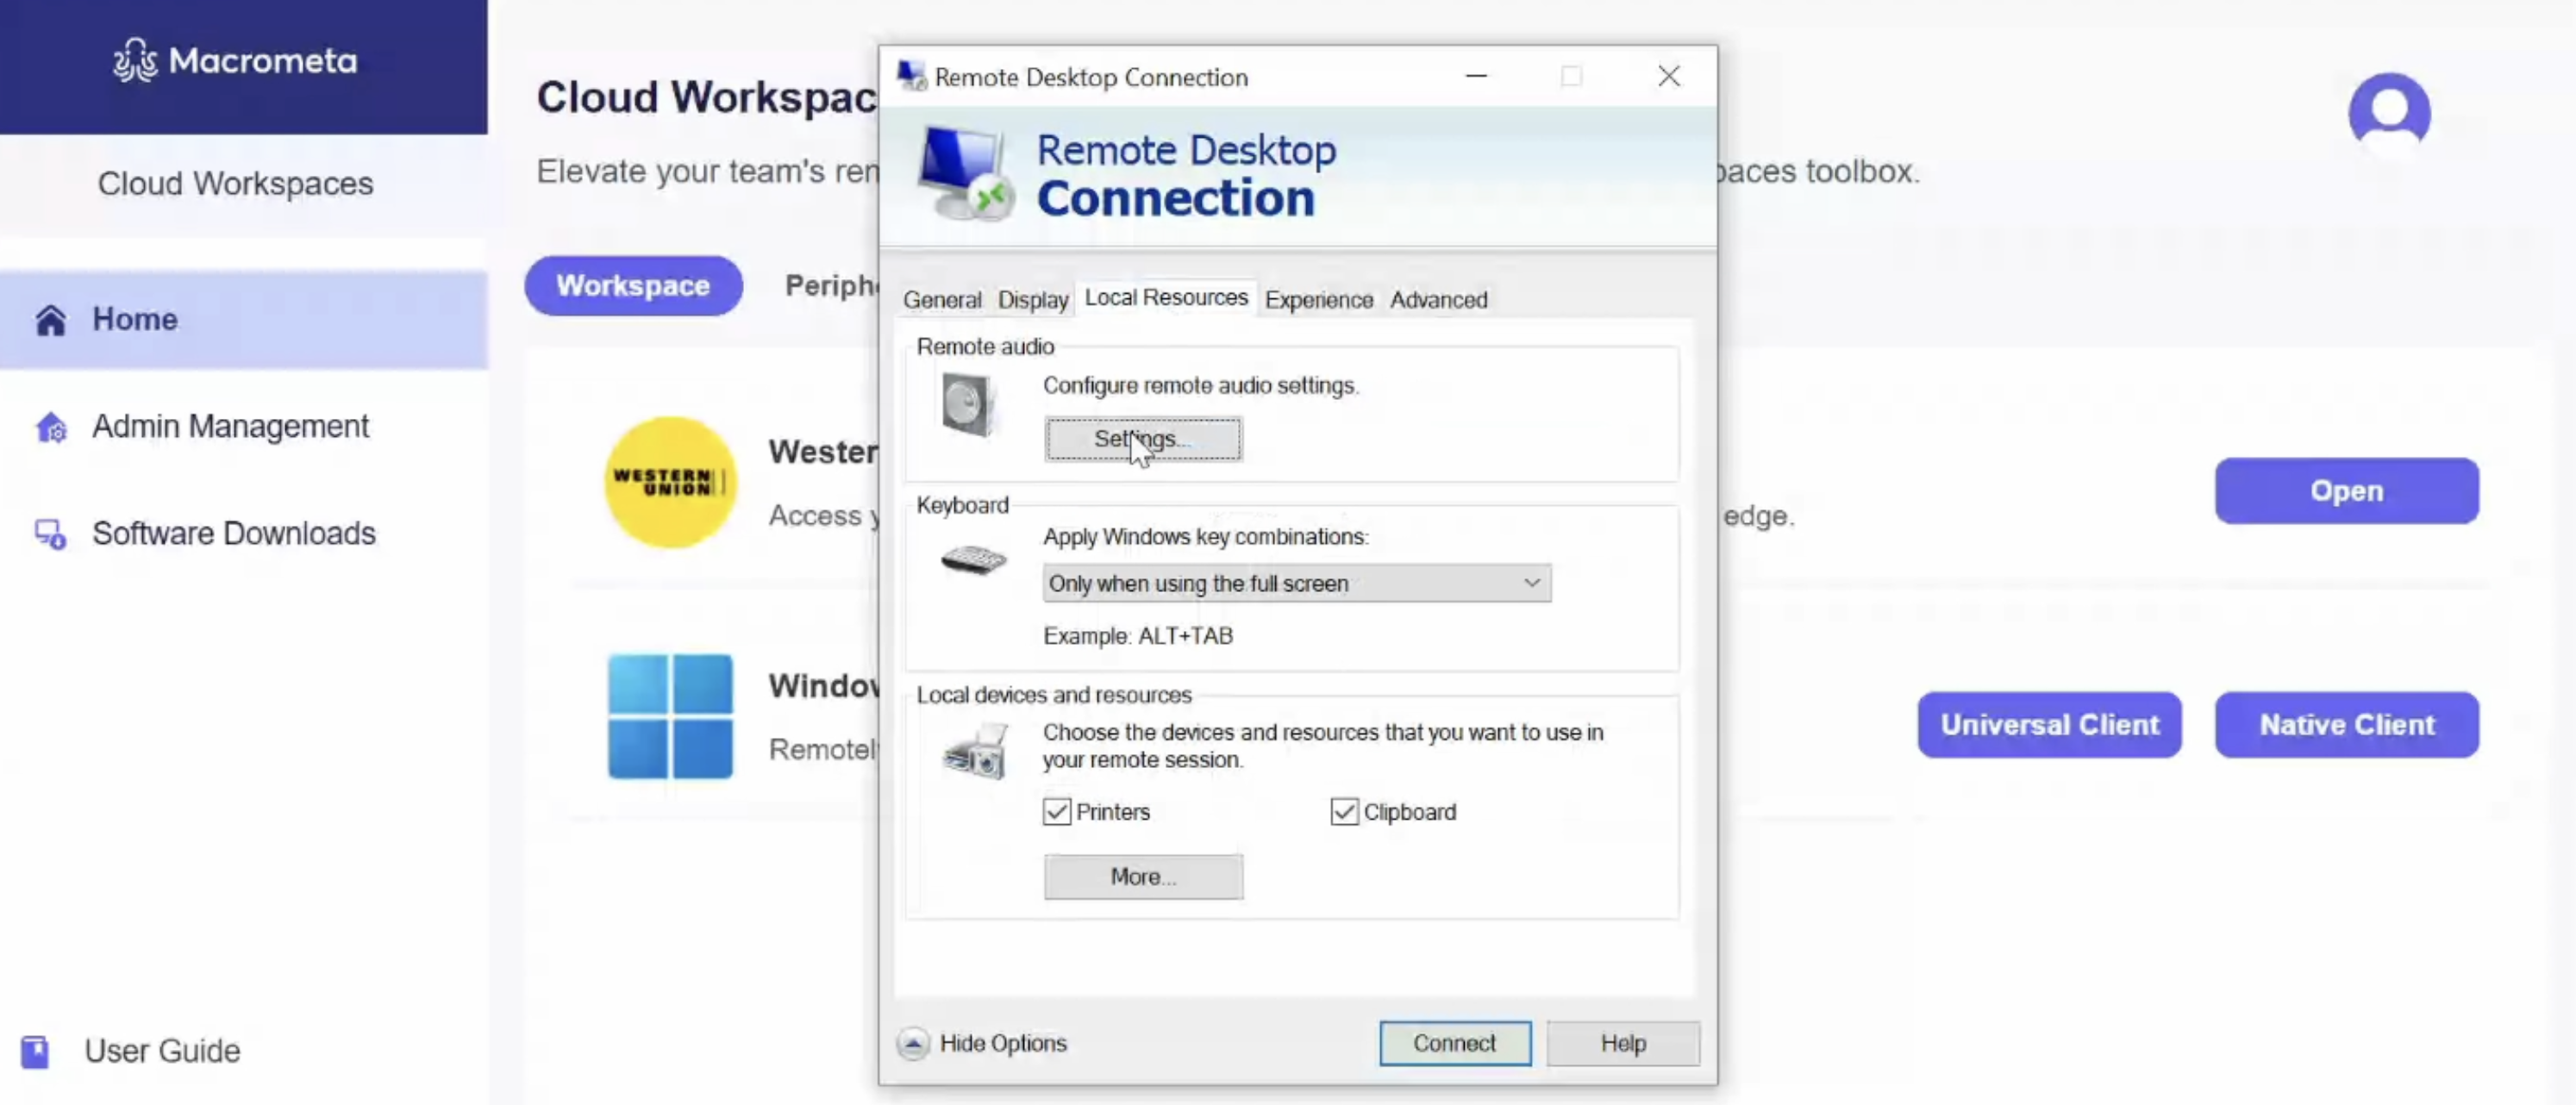
Click More, then choose the devices you want to use in your remote session. By default, all the devices are selected.
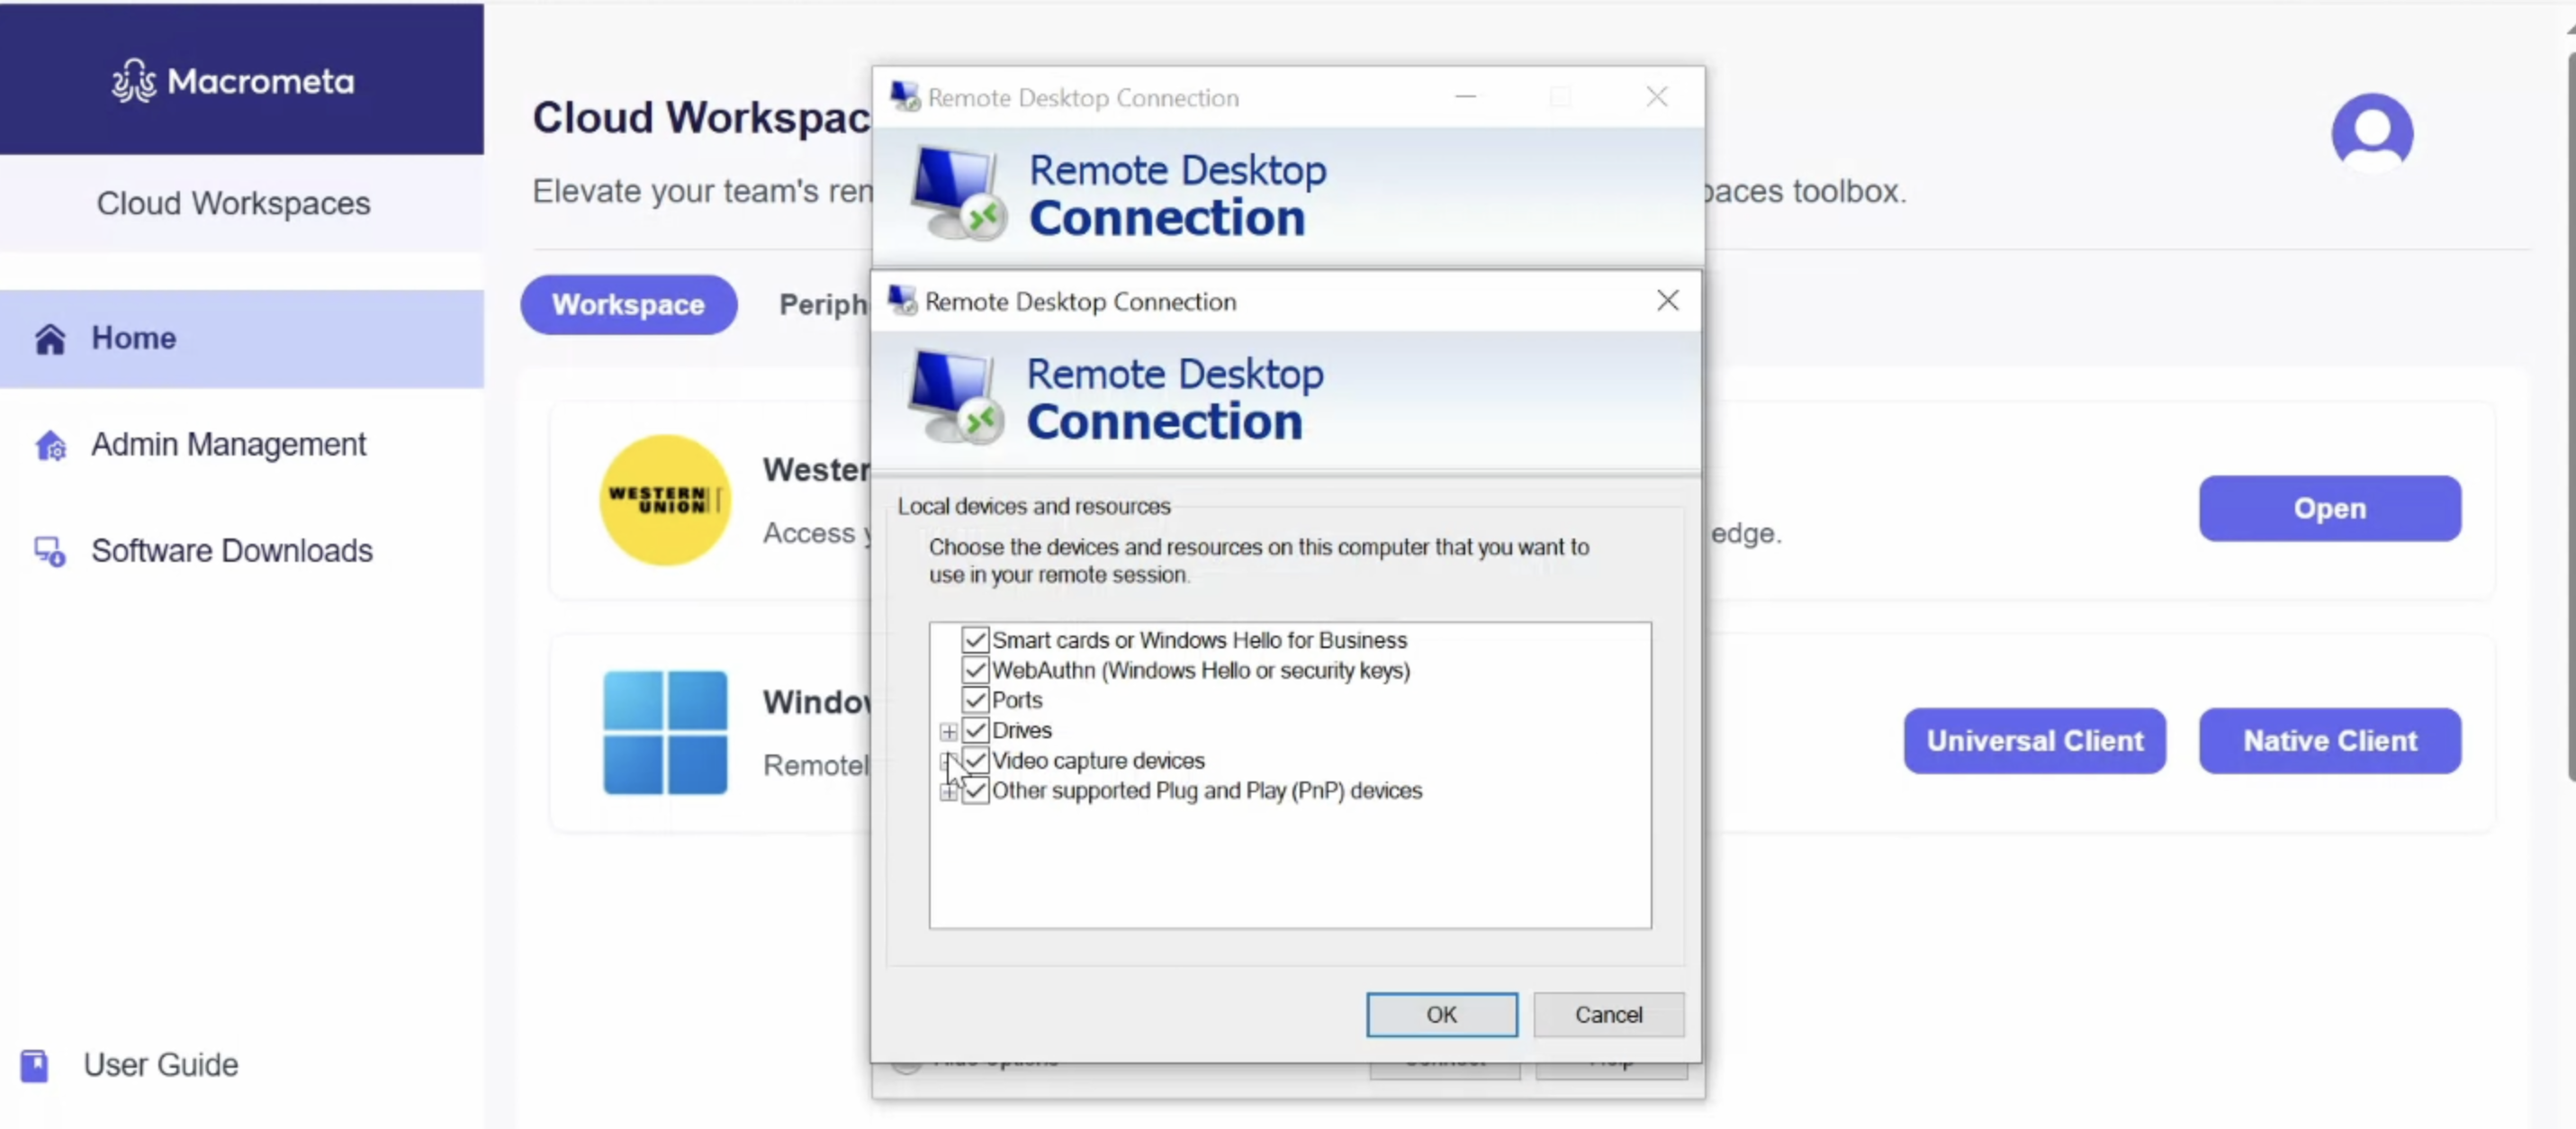
Click OK , then Connect to return to the VDI pop-up and proceed with the connection.
While the Mac Native Client runs smoothly on Firefox and Chrome browsers, Safari users may encounter a minor issue and a fix will be released in a subsequent release.
Step 1: Download the Windows app
Navigate to Software Downloads and click Download Windows App.
.
Follow the onscreen prompts to download and install the Windows app.
Step 2: Download and install the VDI client
Navigate to Software Downloads and click Download VDI Client
Double-click on the newly downloaded VDI installer.
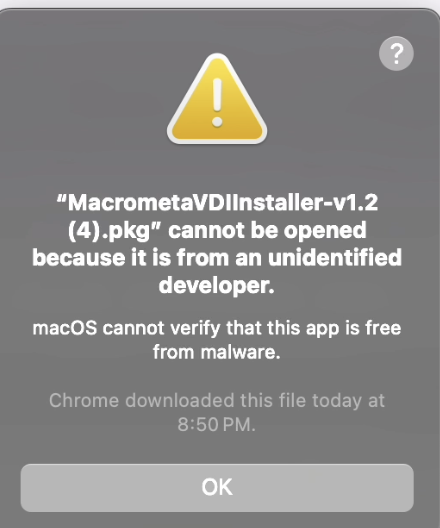 .
.
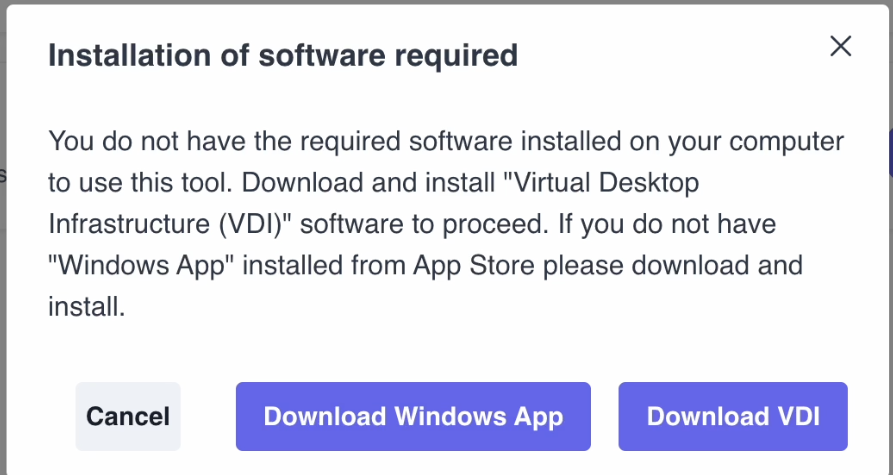
If the above screen pops up, follow these steps to resolve it.
- Follow the onscreen prompts to successfully install the VDI client.
Step 3: Connect to the VDI with the Native Client
Click Native Client from your Workspaces homepage.
This initiates the RDP Launcher.
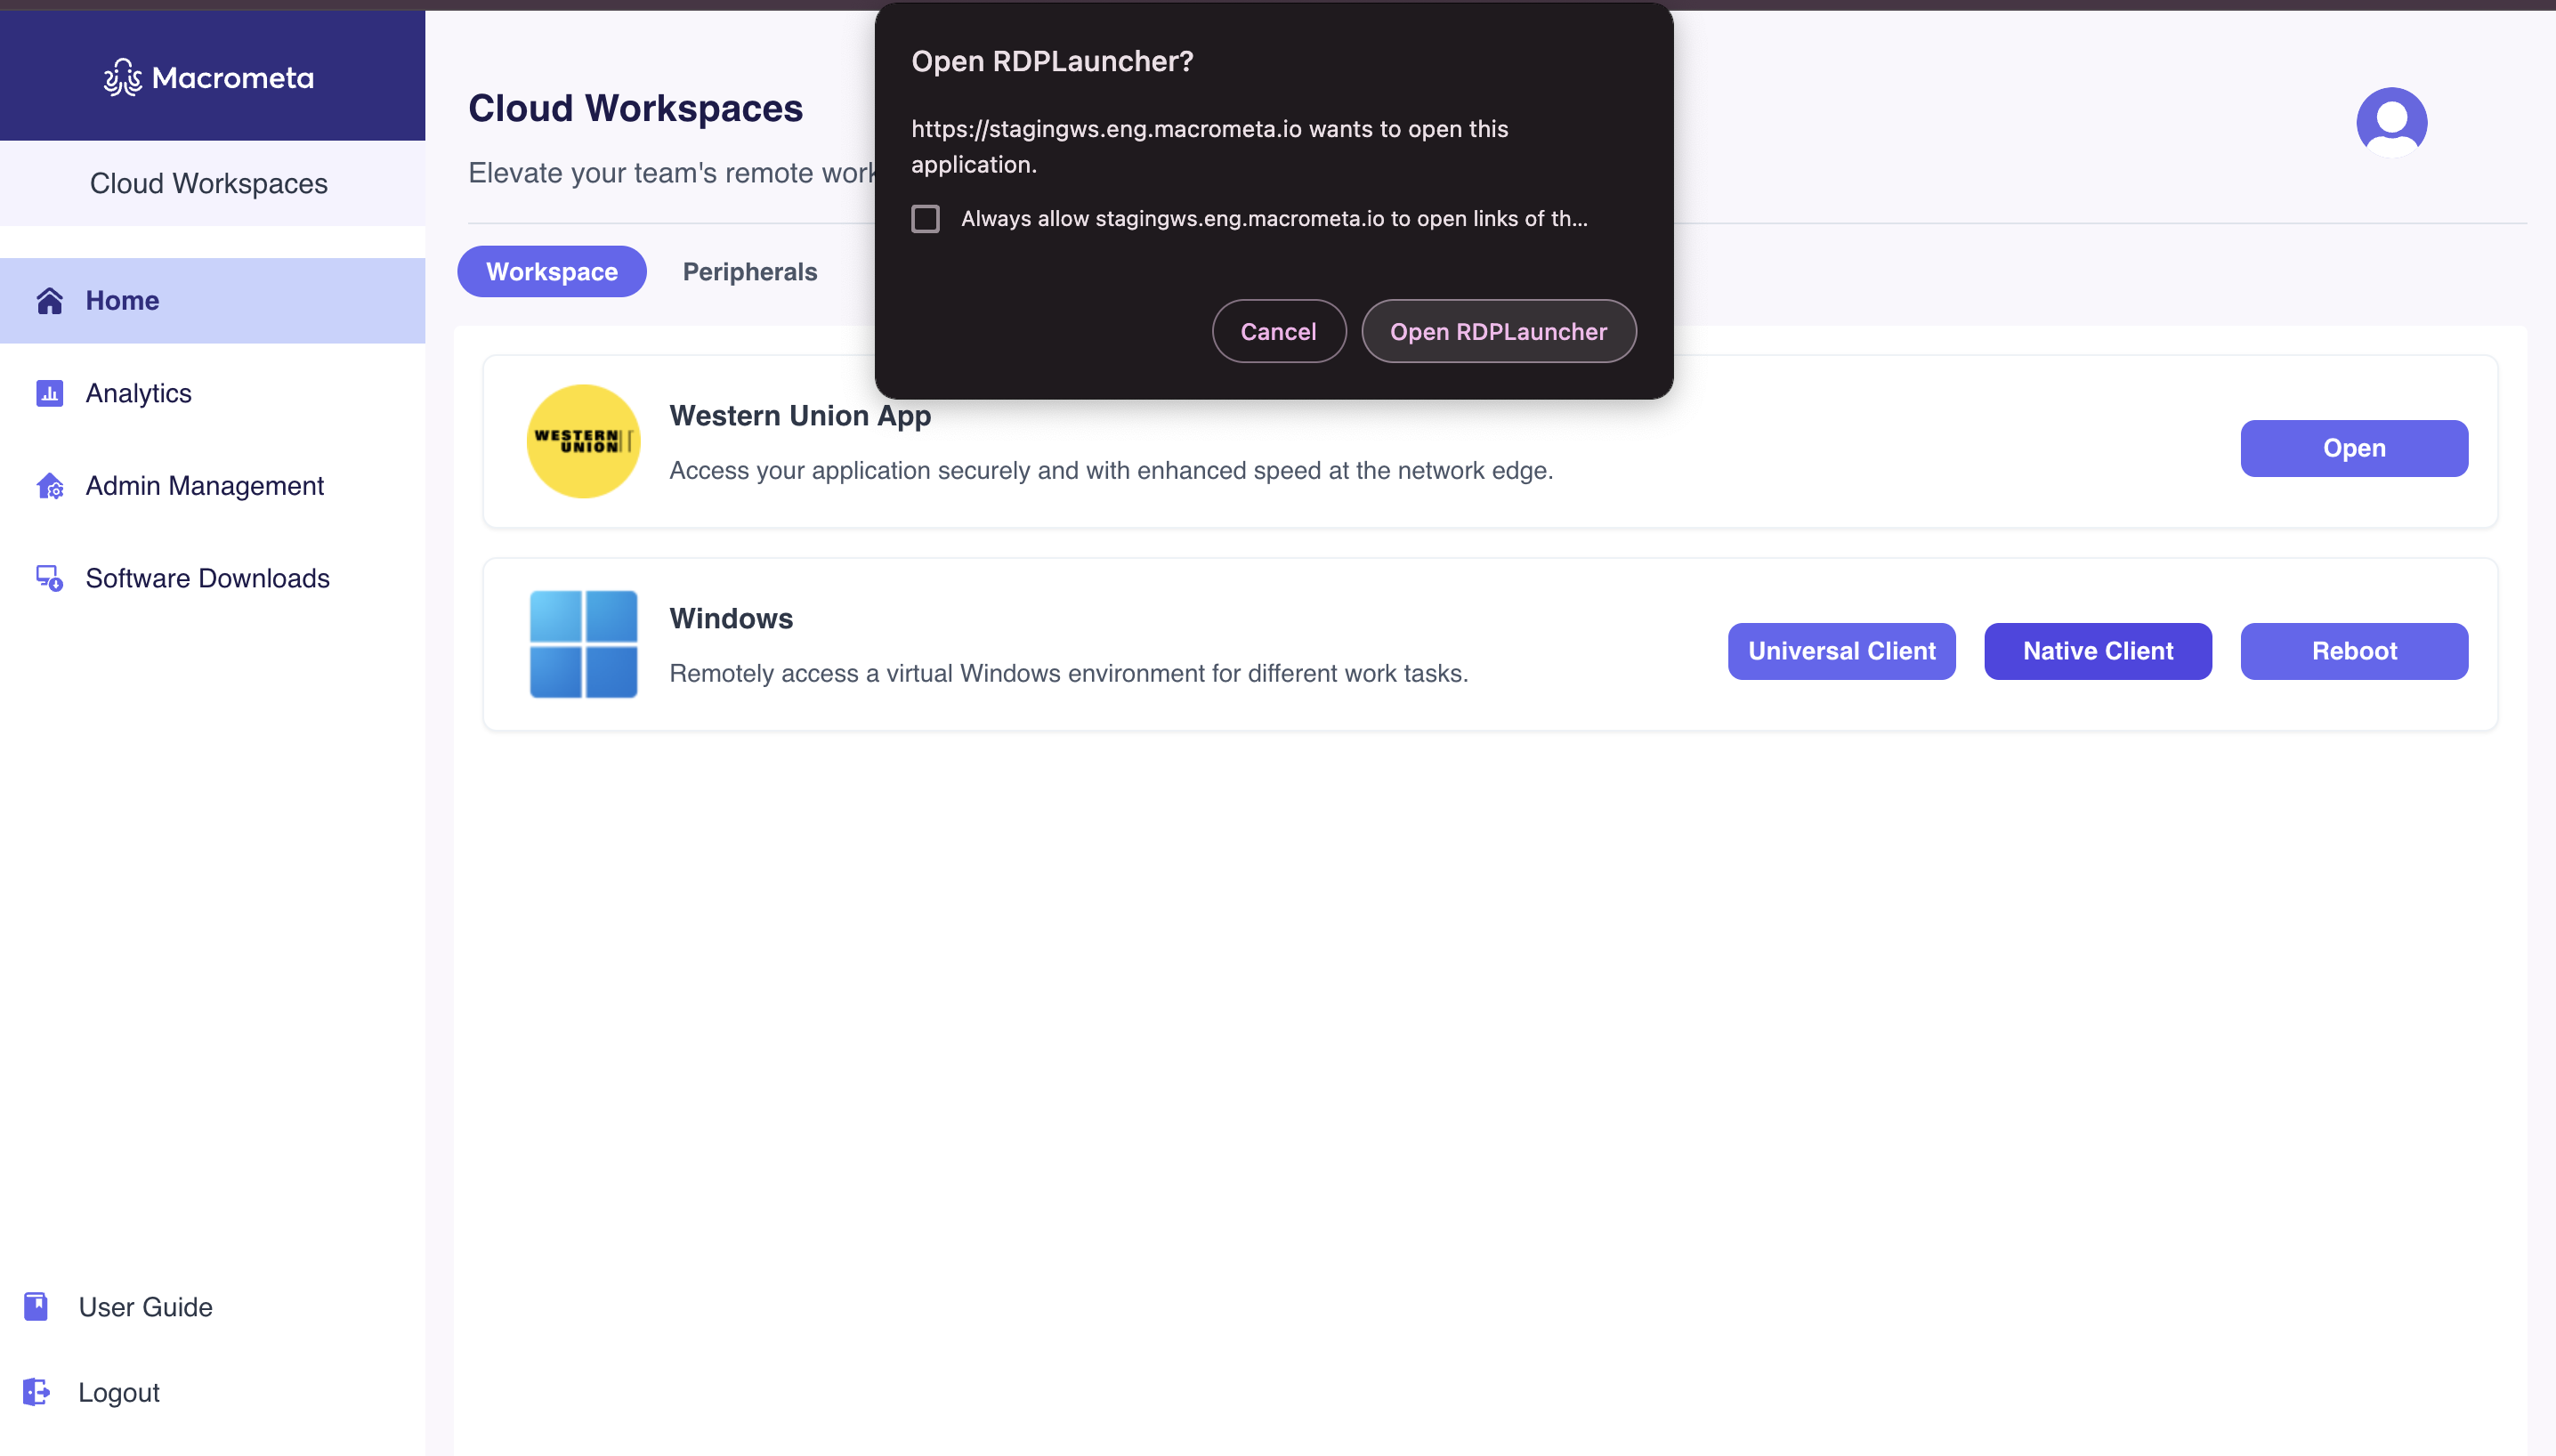
- Note: If you haven't downloaded and installed the Windows app and VDI client this pop-up message prompts you to download:
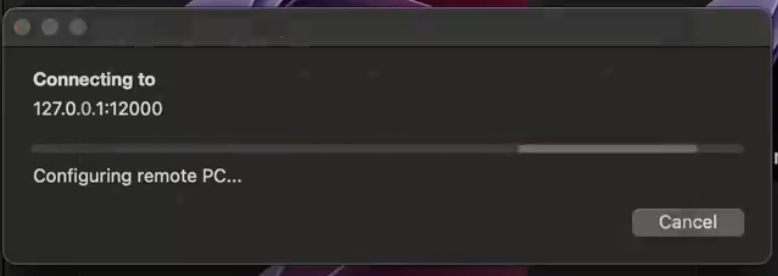
Click Open RDP Launcher. This initiates and configures a remote connection to the PC.
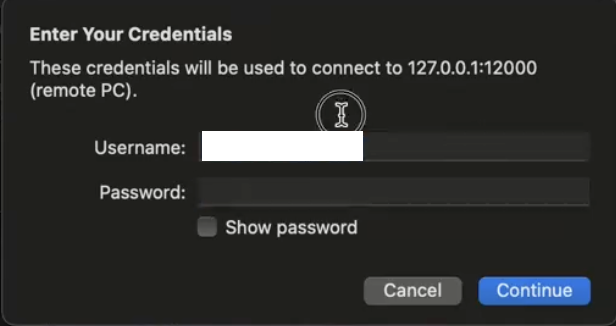
Enter your credentials and click Continue.
A security warning may pop up regarding the host certificate. Click Continue.

This launches your remote session. You can now perform your numerous tasks without the limitations that comes with using a single OS.
To terminate the session,
- Click the X (close) button from the top of the RDP client screen.
- A prompt will inform you that your remote session will be disconnected. Click OK to confirm.